DIY Name Banner Bunting

To celebrate Miss K’s 1st birthday I scoured Etsy for the perfect banner bunting to use as a backdrop for her photo’s. Unfortunately I couldn’t find anything locally so I decided to make my own!

Here is my easy DIY for a name banner bunting:

Supplies

  • Bunting
  • White paint
  • Drop sheet
  • Foam brush
  • Cardboard (optional)
  • Ribbons

The bunting and ribbons were sourced from my local Spotlight, however you should be able to pick these up from Kmart or your local craft store. The paint, drop sheet and foam brush were from a previous DIY project and purchased from my local Bunnings.

Let’s DIY:

  1. Lay out the drop sheet and place your bunting on top.
  2. Paint the letters onto the bunting. Be aware that the paint will seep through the holes in the bunting so ensure you don’t move the bunting around. Alternatively you can paint on top of some cardboard so you don’t have to be as careful or wait for the drop sheet to dry.
  3. Leave the paint to dry for a few minutes and repeat once more or until you’re happy with the colour (I did this twice).
  4. Once the paint has completely dried, assemble the ribbons to your liking.
  5. Hang and voila!

Marie xo

Continue Reading

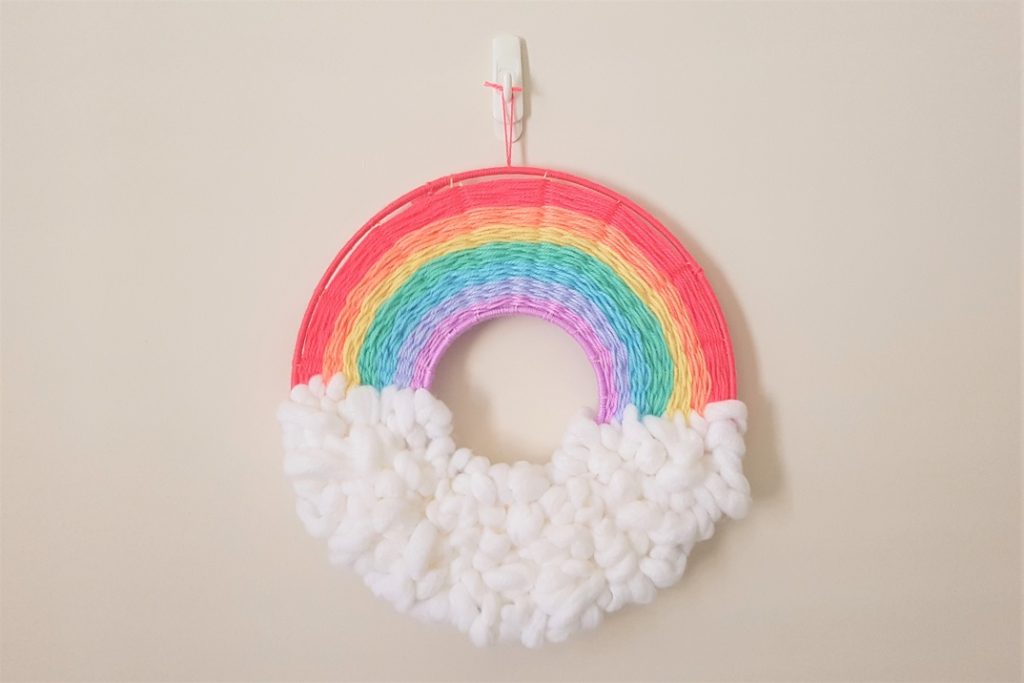
Rainbow Weaving

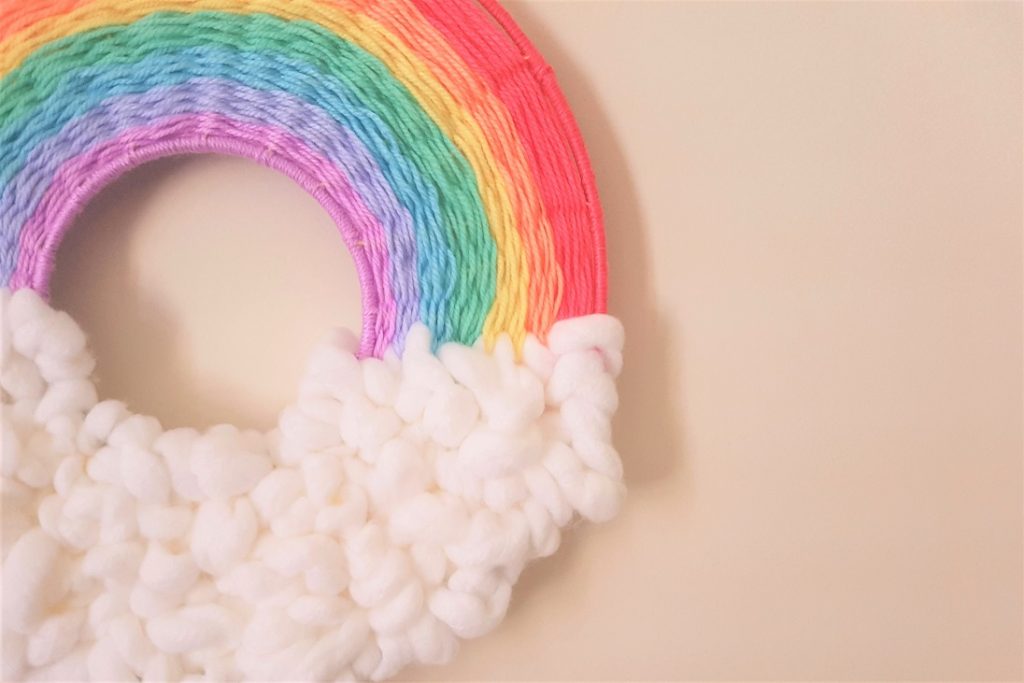
A few months ago I found the perfect DIY for Miss K’s nursery – a rainbow weaving! While it’s not perfect, I love how it turned out! This DIY was a lot trickier than I originally thought it would be, so here are my tips after making this:

  • When joining the 2 hoops together and creating the spokes, make sure that there are at least 28 spokes to create a strong framework for the yarn to be weaved in between. This will also help to prevent gaps between the final colour of the rainbow and the outer hoop, which is what happened with my weaving.
  • Measure the distance between the 2 hoops and divide equally by the total number of colours that will be used to determine how thick each colour of the rainbow should be.
  • Use thicker yarn to speed up the weaving process.
  • Consider giving the semi-center of the cloud a miss – as there is a large gap I couldn’t figure out how to weave the cloud and was still happy at how it turned out.

I’m always on the hunt for crafty DIY’s! If you have a DIY or recently done a DIY, please let me know in the comments below!

Marie xo

Continue Reading

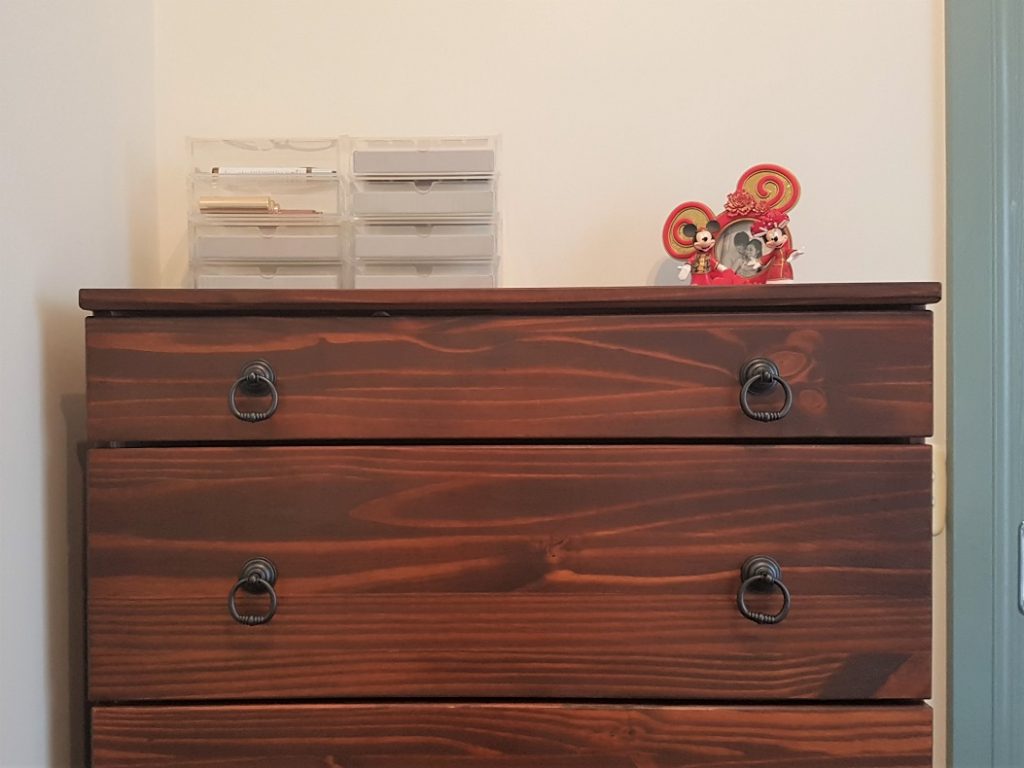
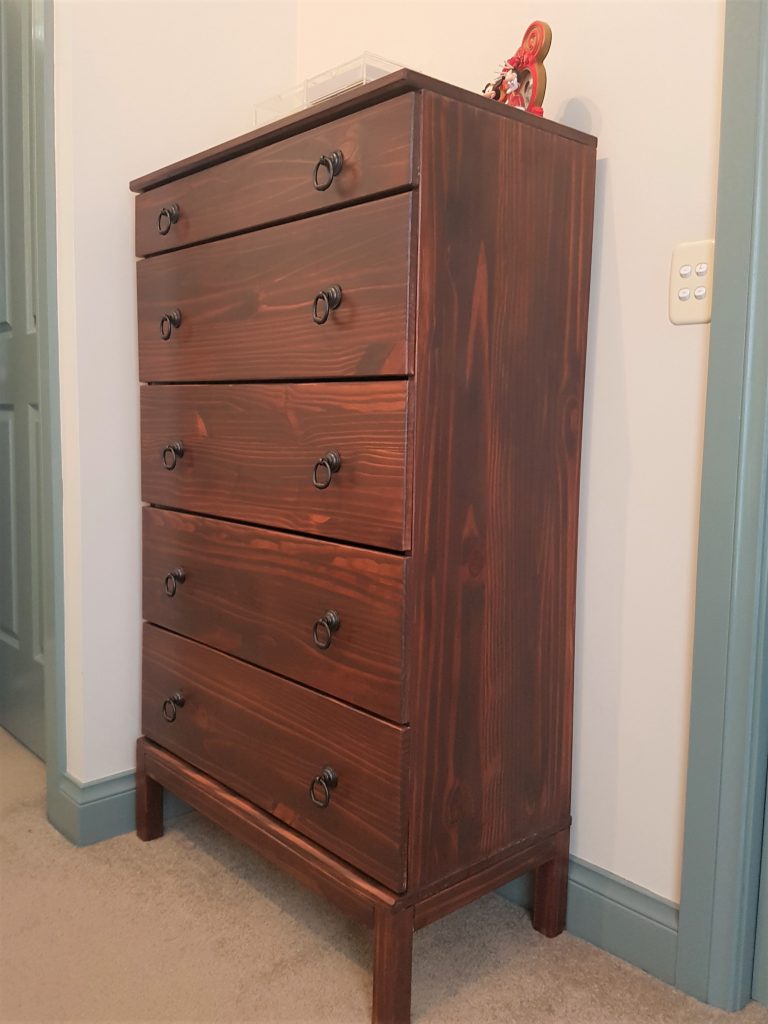
IKEA Tarva 5-Drawer Makeover

A few months ago, I shared my IKEA Rast 3-Drawer makeover and I wanted to share the IKEA Tarva 6-Drawer makeover that I did at the same time. It’s a simple makeover but I’m so pleased at how it turned out. I’m particularly in love with the knobs that I found, which gives it that industrial look.

Supplies*:

  • Tarva Chest of 5-Drawers
  • Cabot’s Jarrah Water Based Interior Stain
  • Cabot’s Cabothene Clear Water Based
  • 10 Knobs
  • Painters tape
  • Rags
  • Drop sheet
  • Foam brushes

*All supplies were purchased from my local Bunnings store. I purchased water based supplies over oil as they emit less of a potent odour and are easier to clean up.

Let’s DIY:

  1. Lay out the drop sheet and assemble the drawers on top as per the instructions, minus the knobs if you’re using your own. Separate the body of the drawers from the individual drawers.
  2. Gently sand the drawers to remove any rough spots or splinters in the wood. Wipe down with a damp cloth and leave to dry.
  3. Use painters tape to tape up the back and sides of the drawers where you’ll be staining.
  4. Roughly apply the stain with a brush and rub it in evenly with a rag. Leave to dry for 2 hours and repeat once more or until you’re happy with the colour (I did this twice).
  5. Once the stain has completely dried, apply the Cabothene Clear as a top coat and leave to dry for 2 hours. Repeat 2 more times.  
  6. Install the knobs, assemble the drawers, and voila!

Marie xo

Continue Reading

IKEA Rast 3-Drawer Makeover

Before our big move interstate, I sold most of our old furniture thinking that we could upgrade and get some nicer pieces that would last us the next few years. While I’ve been happy to spend money on key pieces such as our king bed and sofa, I wasn’t keen on spending much money on smaller items such as bedside tables and drawers.

After some lengthy research online, I found the perfect DIY project – the Ikea Rast 3-Drawer hack! I had no idea that this was a thing but soon discovered some amazing inspiration online. In the end I decided to go with a classic Jarrah stained body look with white drawers and personalised knobs. 

I love how they turned out and with a much better price tag as well!

Supplies*:

  • RAST chest of 3 drawers
  • Cabot’s Jarrah Water Based Interior Stain
  • Cabot’s Cabothene Clear Water Based
  • British Paints Prep White 4 in 1 Water Based
  • Dulux Aquanamel Vivid White Semi Gloss
  • 6 Knobs
  • Painters tape
  • Rags
  • Drop sheet
  • Foam brushes

*All supplies were purchased from my local Bunnings store. I purchased water based supplies over oil as they emit less of a potent odour and are easier to clean up.

Let’s DIY:

  1. Lay out the drop sheet and assemble the drawers on top as per the instructions, minus the knobs if you’re using your own. Separate the body of the drawers from the individual drawers.
  2. Gently sand the drawers to remove any rough spots or splinters in the wood. Wipe down with a damp cloth and leave to dry.
  3. Use painters tape to tape up the back and sides of the drawers where you’ll be staining and painting.
  4. For the body of the drawers, roughly apply the stain with a brush and rub it in evenly with a rag. Leave to dry for 2 hours and repeat once more or until you’re happy with the colour. 
  5. Once the stain has completely dried, apply the Cabothene Clear as a top coat and leave to dry for 2 hours. Repeat 2 more times.
  6. For the individual drawers, prep them by applying the prep 4 in 1 with a brush. Leave to dry for 2 hours. Repeat once more.
  7. Once the 4 in 1 has completely dried, apply the white paint and leave to dry for 2 hours. Repeat once more or until you’re happy with the coverage.  
  8. Install the knobs, assemble the drawers, and voila!

Marie xo

Continue Reading